Setting Up a Python Project From GitHub
These are some basic steps for installing a Python project from GitHub. This more specifically relates to OSC's projects, but can be applied to many Python projects.
Anyways, let's start off this!
Git and Python
This guide assumes you have Git and Python installed. If you don't, you can install:
- Git through this guide.
- Python by going to python.org and downloading the latest version.
Forking the Repository
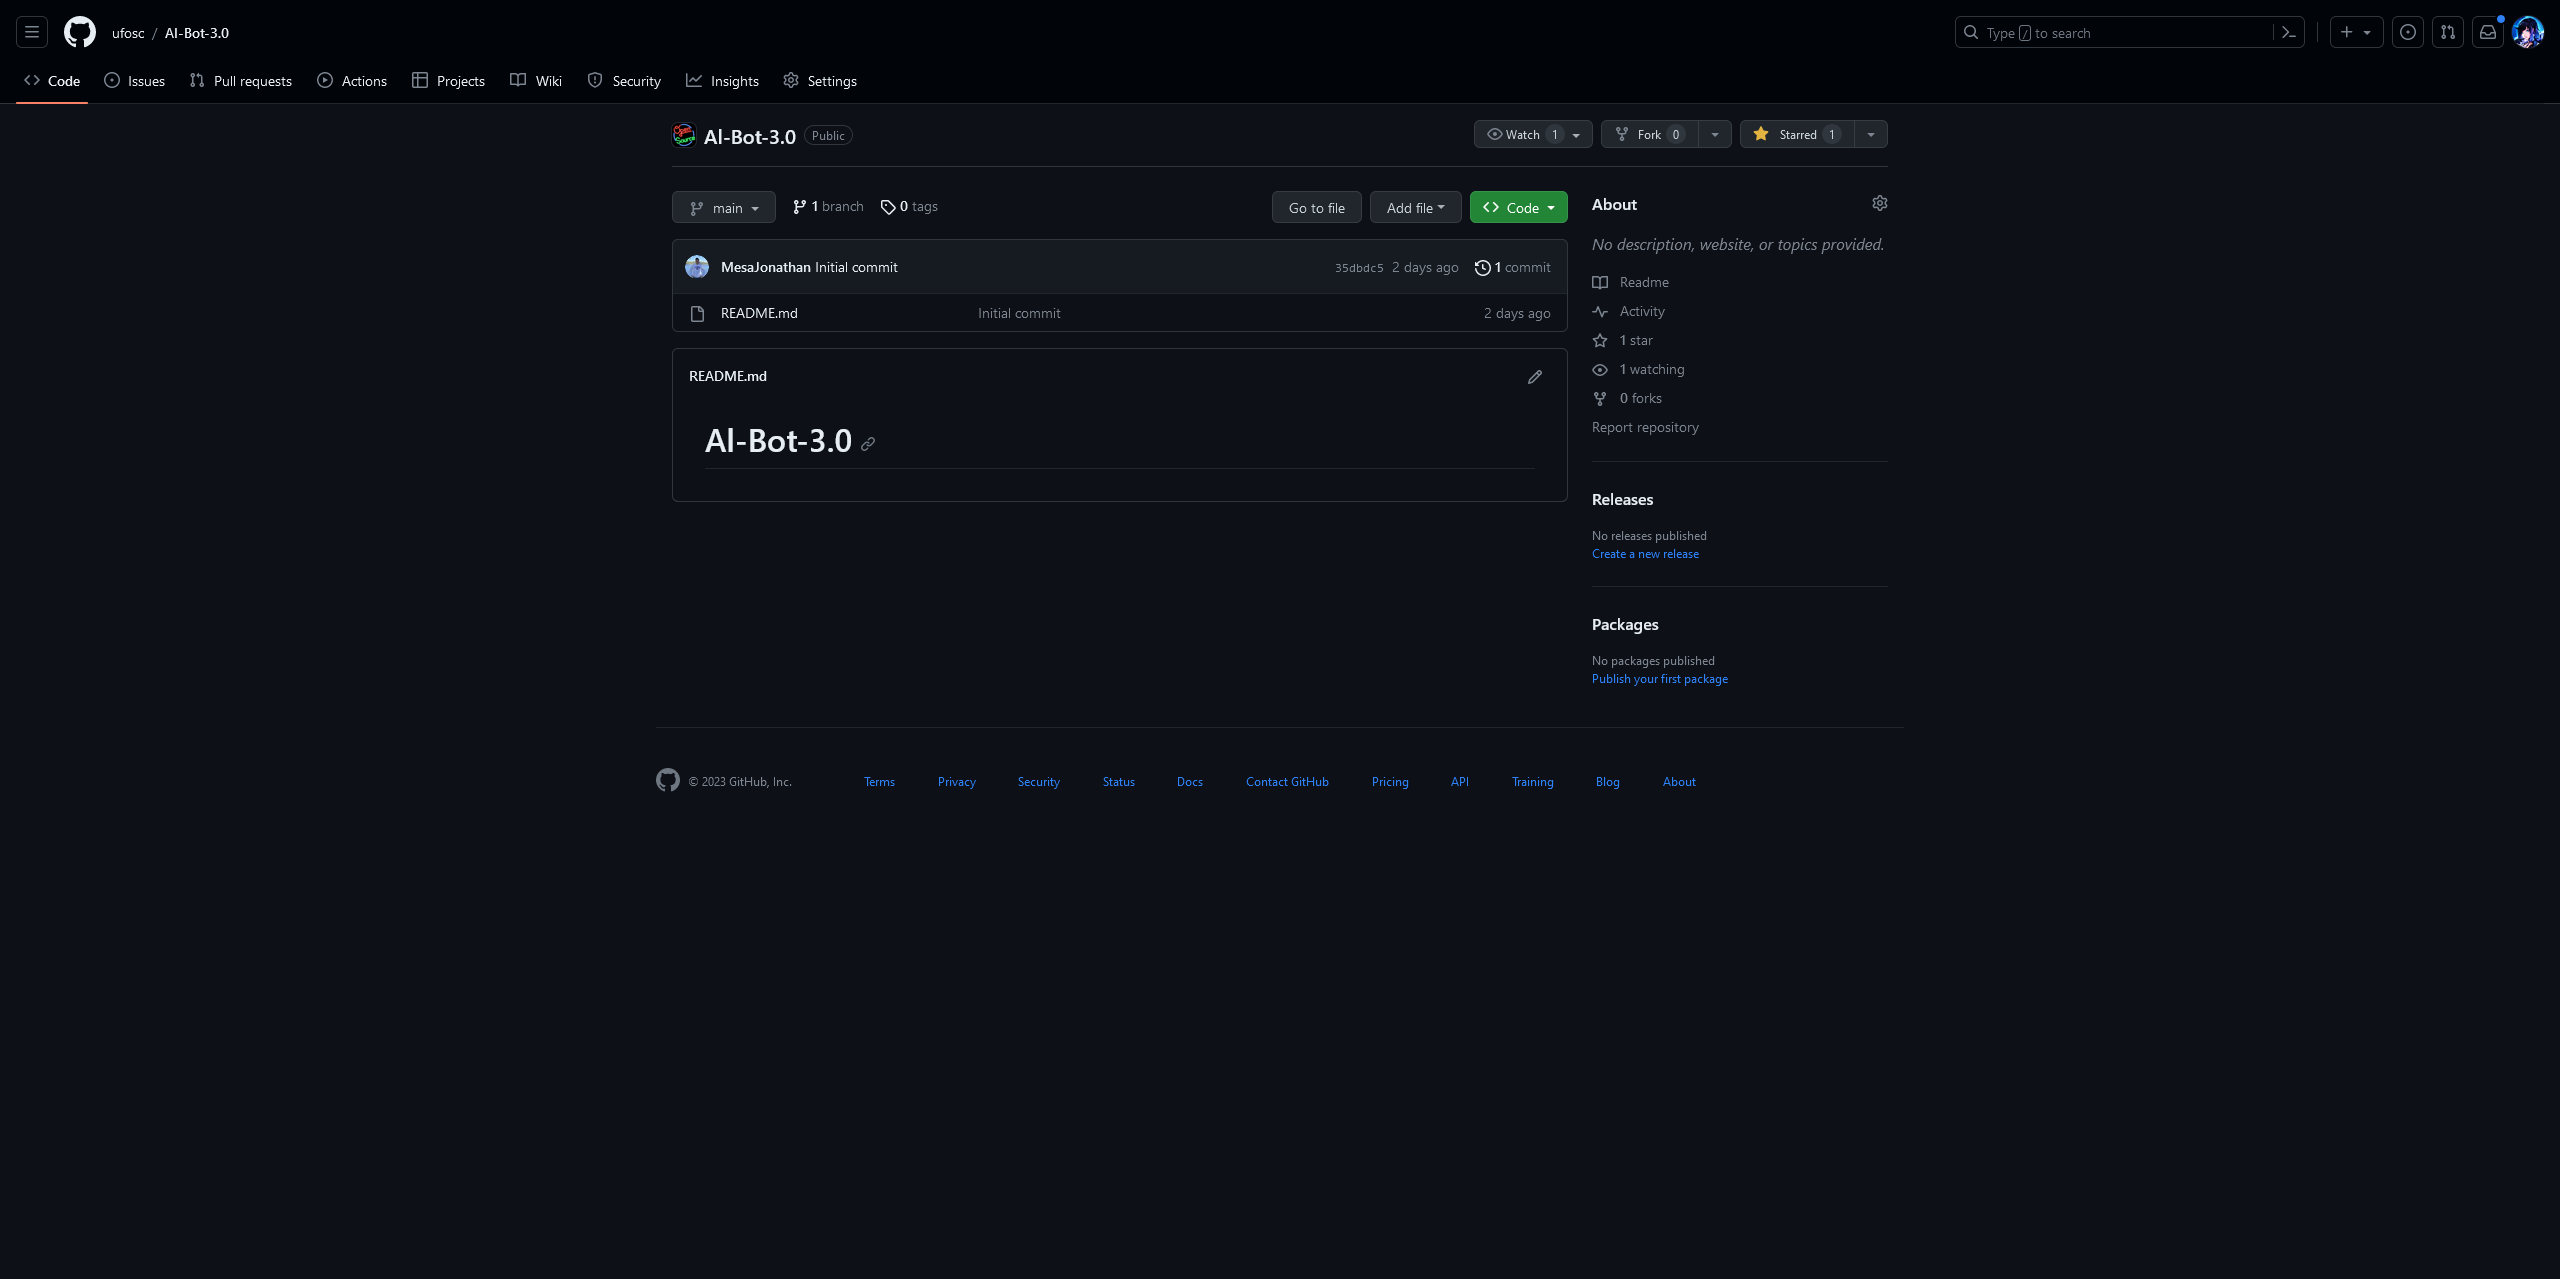
First, navigate to the repository while signed into GitHub (making an account is really easy - if you haven't already, now is the time to do so). For example, let's use Al Bot 3.0.
Next, click the "Fork" button in the top right corner. This will create a copy of the repository in your GitHub account.
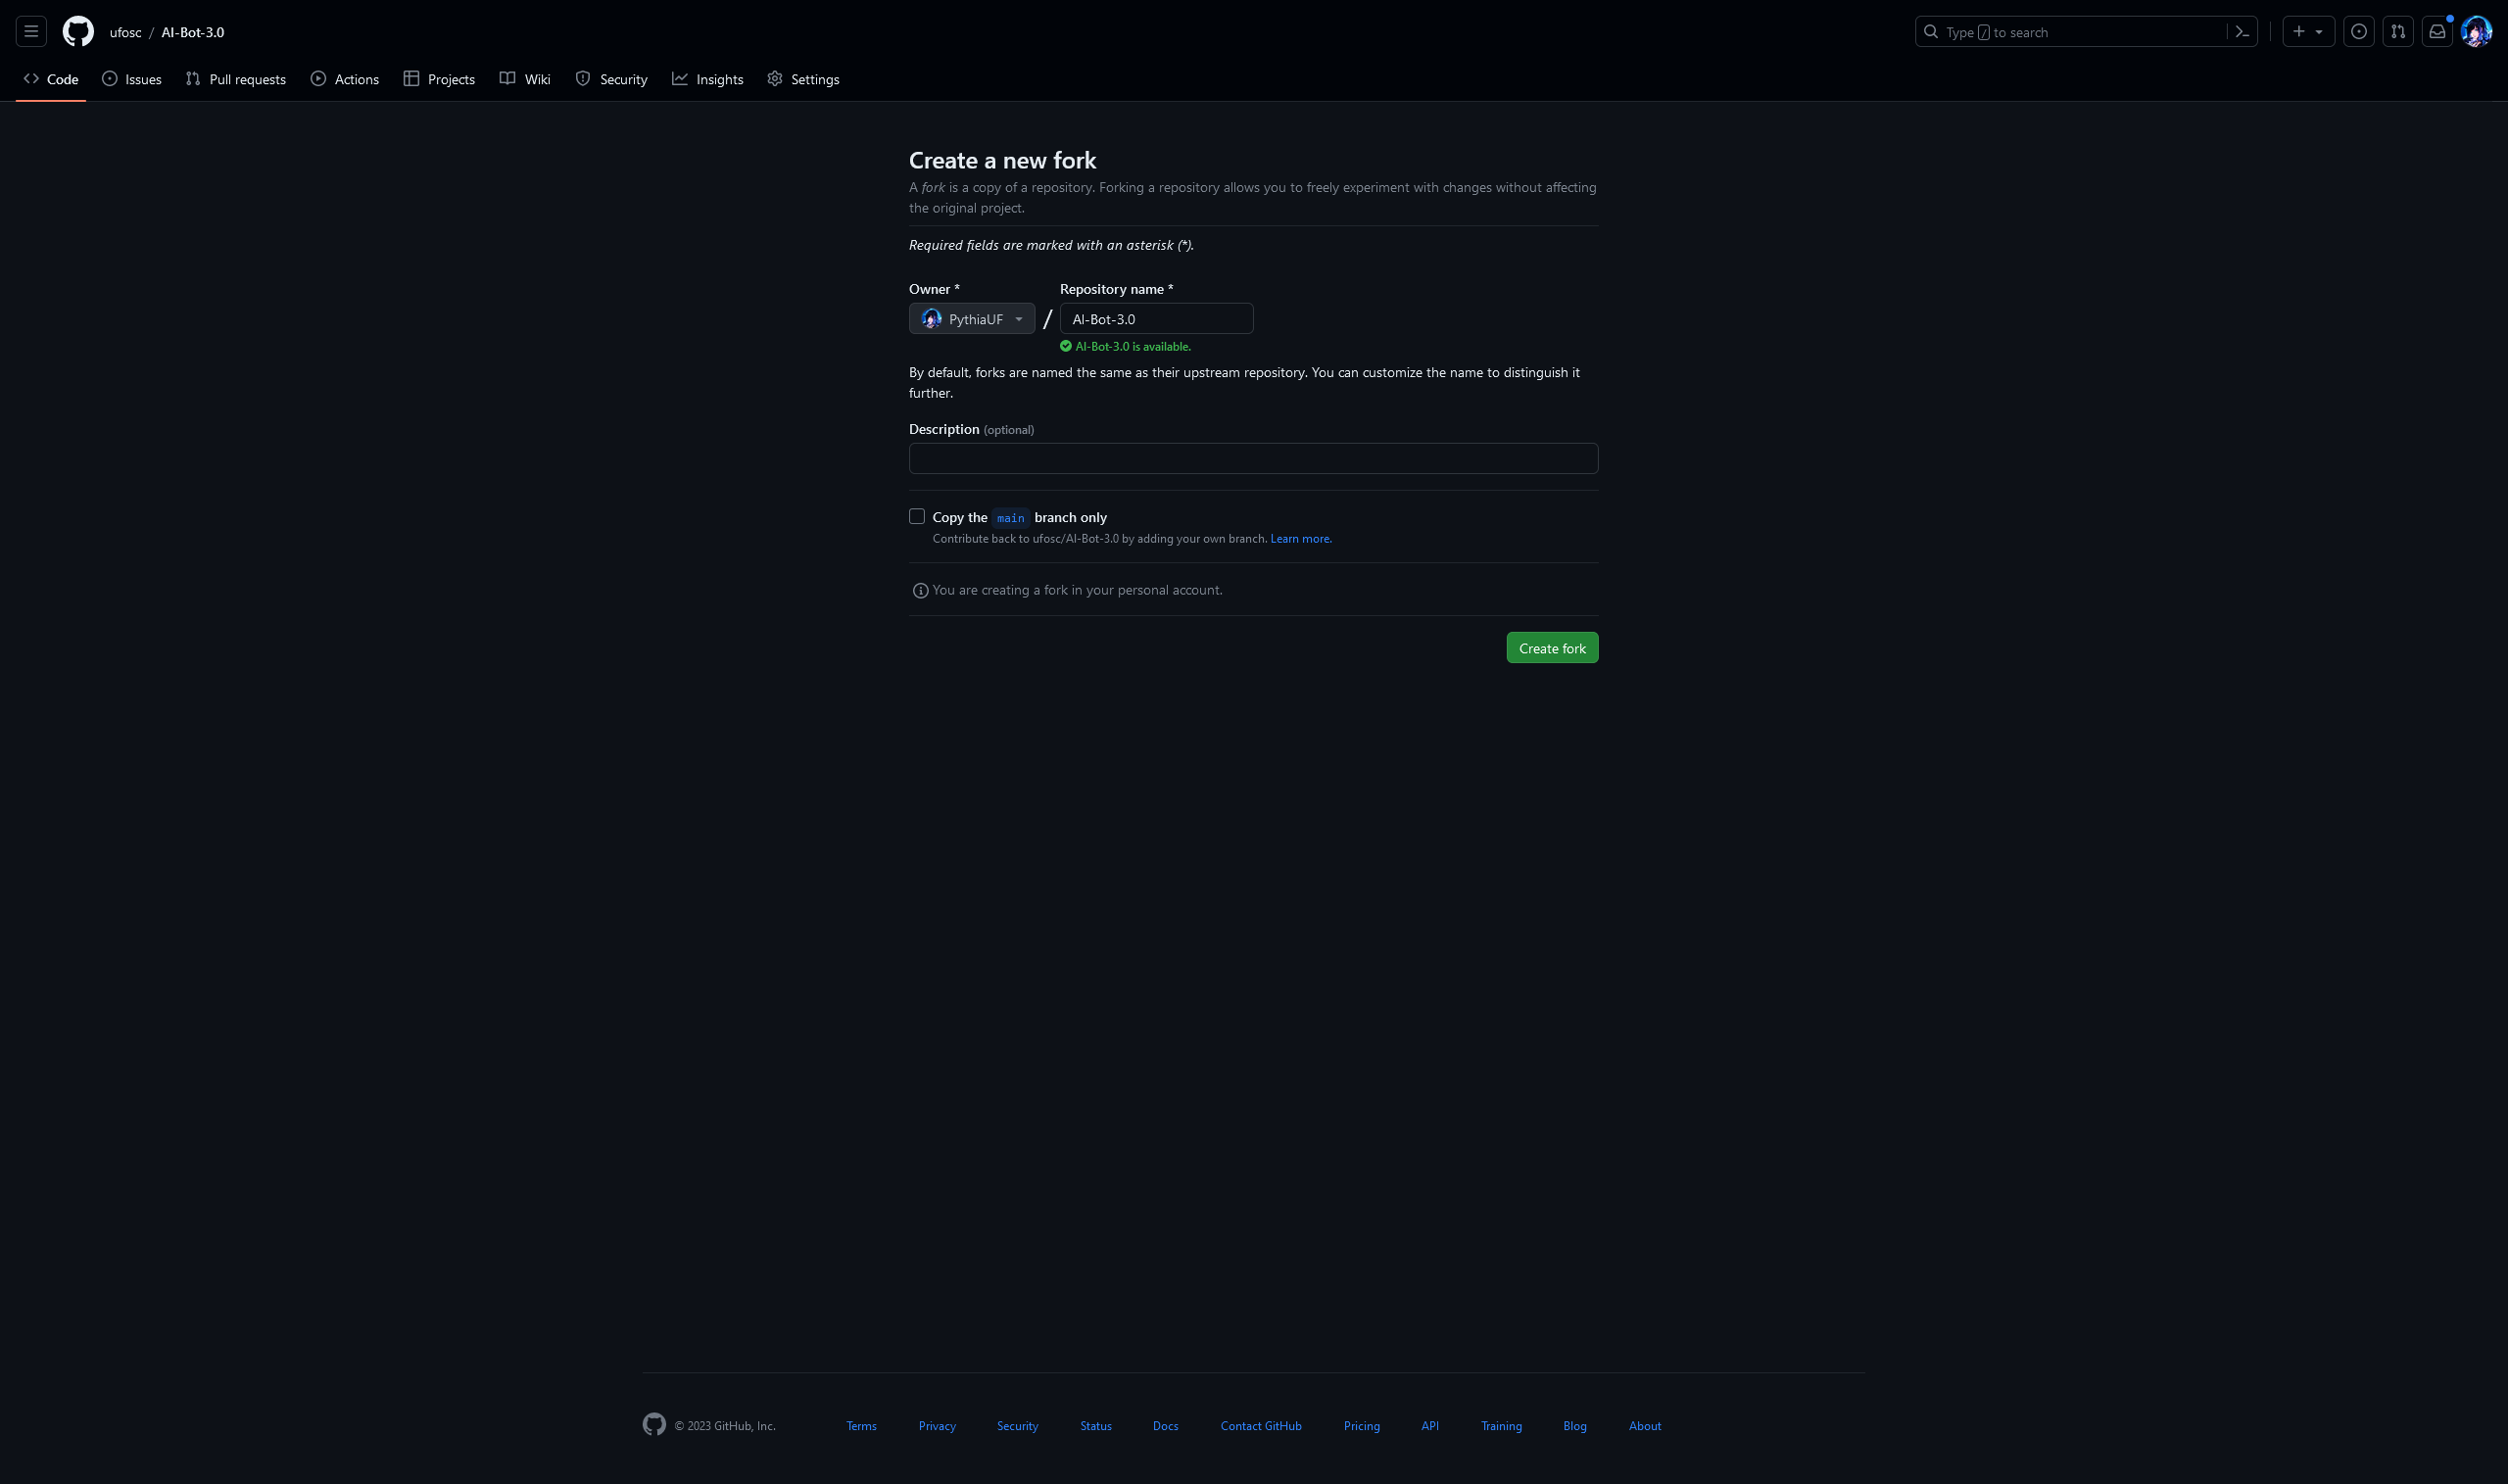
The default options are usually fine - you can disable "Copy the main branch only" if you want all branches, but usually not having them is fine.
From here, press Create Fork and wait a few seconds. You should be redirected to your forked repository!
Why fork a repository?
Forking a repository allows you to make changes to the code without affecting the original repository. This is useful for making changes to a project without having to worry about messing up the original code. You probably won't have writing access to the original repository for any of OSC's projects, so forking is the only way to make changes here. We'll talk about how you can contribute your changes back to the original repository as a pull request later on.
Cloning the Repository
Now that you have a copy of the repository in your GitHub account, you can clone it to your computer.
First off, copy the URL of the repository. You can do this by clicking the green "Code" button and copying the URL in the box that pops up... or just copying the URL from the address bar.
But aren't these two different URLs?
Yes! One has ".git" at the end and one doesn't. However, GitHub can handle both of these URLs, so it doesn't really matter which one you use.
Next, you're going to have to use your terminal in orderr to clone the repository. A terminal is a program that allows you to interact with your computer through text commands, typing out commands instead of clicking buttons. This may sound scary, but it's less scary than it seems - at times, it can be even easier than using a traditional program!
On Windows, navigate to a directory where you want to clone the repository (the Documents folder is a good idea). Then, either:
- Hold Shift + Right in the empty space in the folder you want it opened on, and click "Open command/Powershell window here".
- Open the folder, then type "cmd" in the address bar (the top bar) and press Enter.
On Mac, open the Terminal app. You can find it by searching for it in Spotlight (the magnifying glass in the top right corner) or by going to Applications > Utilities > Terminal. You'll likely need to navigate to the directory you want to clone the repository to - you can do this by typing cd followed by the directory name. Admittedly, I don't own a Mac, so I can't say more than that.
If you're on Linux, you probably already know how to use the terminal.
Once you have the terminal open, type git clone followed by the URL you copied earlier. For example, if I wanted to clone my fork of Al Bot 3.0, I would type git clone https://github.com/PythiaUF/Al-Bot-3.0. Your URL will be different, of course.
After that, press Enter and wait a few seconds. You should see something like this:

Congratulations! You've cloned the repository to your computer! You can look into the newly created folder to see the files that were cloned - they should be exactly the same as the ones on GitHub.
Opening the Project and Setting Up Dependencies
Now that you have the project on your computer, you can open it in your favorite IDE (Integrated Development Environment). For this guide, we'll be focusing on either PyCharm or VSCode, as those are the two most popular IDEs for Python.
First, you'll want to open the folder in VSCode. You can do this by going to File (usually found at the top) > Open Folder and selecting the folder you cloned the repository to.
Once you're there, we need to set up a virtual environment. A virtual environment makes it easy to have multiple projects on your computer - many projects will have dependencies, which are other Python packages (pieces of code) that the project needs to run (for example, Al Bot uses interactions.py to handle the Discord logic - we let it do the complicated stuff with Discord and just interact with it instead). Many projects depend on the same dependencies, but they may depend on different versions of the dependencies. Since a virtual environment is separate from other projects, you can install different versions of the same dependency in different projects.
Anyways, there are many ways of doing this, but the simplest is to use a built-in tool called venv. Go to Terminal (also found at the top) > New Terminal to once again open the terminal, and type in:
python -m venv env
This will create a virtual environment in a folder called env. You can name it whatever you want, but env/venv is the standard name for virtual environments.
Visual Studio Code will notice the creation of the virtual environment and ask you if you want to use it. Click "Yes" to use it.
From there, you can finally install the dependencies. You can do this by going to Terminal > New Terminal again (do not reuse the same Terminal!) and typing in:
python -m pip install -r requirements.txt
requirements.txt is a file that lists all of the dependencies for the project. This command will install all of the dependencies listed in the file into the virtual environment. This means you can finally run the project!
First, you'll want to open the folder in PyCharm. You can do this by going to File (usually found at the top) > Open and selecting the folder you cloned the repository to.
PyCharm should be smart enough to notice that a virtual environment is needed for this folder and ask you if you want to use it. Click "Yes" to use it.
That's it - you're done! You can now run the project!
And you're done! You can run the project by running the entry file (main.py for Al Bot) - you can do this by right clicking the file and clicking "Run" ("Run Python" > "Run Python File in Terminal" for VSCode).
We'll talk about how to contribute your changes back to the original repository, as well as how to keep up to date with said original repo, in a later guide.